looking for something?

if you've known me for more than a minute you may have heard my expression for what it feels like when i get an idea that just makes sense: 'it's like a white hot hammer of inspiration to the back of the head'

Saturday, June 7, 2014

the right pen

been trying to do this for a while, with a cheap pen. specifically an inexpensive pen, not a fancy steel bodied one. because i lose things.
sometimes you just need to write things down.
near the fridge, or the metal front door.
but the smallest magnetic spheres i could find don't fit in your average bic and i don't want to glue a magnet to something that isn't always going to be around, whether i lose it or it just runs dry.
someone left this pen behind and it looked just the right size for my smallest spheres (a.k.a. bucky balls)


the magnetic spheres aren't strong enough to stick to the fridge through the plastic of the pen on their own, but a superstrong magnetic disk on the fridge works perfectly. similar to the setup for the little spray bottle of water for cleaning my wet-erase marker grocery list
after using the pen earlier, this idea hit me so hard i had to get up from watching the 2nd to last episode of Defiance season one.
so now back to that and pricing an extra shelf for my fridge. because hey, i have the space and use for it and GE sells the parts

Monday, April 21, 2014

travel tissue

this is a personalized take on another camping hack that i have seen floating all around pinterest/buzzfeed/etc
i couldn't make the original because i apparently don't buy the correct quantity of ground coffee in a plastic tub. this is the container from the 11.3 oz size of ground folgers. 
i have sometimes in the past, but that canister is currently in use as my "washing kit" for travel and camping. 
so i was working with the small size, which does not hold an entire roll of toilet paper. 
good thing it's not too hard to swap out the roll at 3/4 full.

sorry, i didn't have a photographer, but this one is easy to do without a lot of step by step.

wash coffee canister. make a cut down the side at least a 1/4 of an inch wide and as tall as a roll of toilet paper. i started it with a pocket knife and used titanium shears to cut it, but i suspect that was overkill. tough scissors should do it. i was using what was already on the coffee table. 
insert roll. 
for the large sized canister you can use a full roll, or if you don't buy the giant mega super charmin family size garganutan rolls that i do, normal ones probably fit in the 11.3oz sized canister. 

this is the first draft. it was not quite right. if you look closely at the top of the cut in the plastic, the tissue is squeezed. this did not pull out smoothly and ripped. 

you can see the rip from the inside 

riiiiipped! if you look carefully past the flash, you can see the top of the tissue catching on the plastic and making a little tissue wad


cut a little taller and a little wider. 


yay! there's the correct fit! the tissue pulls out smoothly and cleanly, no tears. and the container is small enough to fit under some car seats or in shoe pockets on the back of the driver's seat, unlike the full sized coffee canister. 
so the original hack is to take this camping, and you can tie a string through the canister for hanging on a tree or campground bathroom door.  (you ever go to a campground in the off season? be glad they unlocked the restrooms and turned on the water, but don't count on TP!)

personally, i will be taking it to the beach this weekend. not camping but good for the road trip and for dealing with excess sunscreen spatters. 
this seems like an excellent way to have tissues at the ready in the car for those of you with kids. cheaper than fancy kleenex boxes and better protected from sticky small ones. 

recipe holder

this feels so simple to me that i cannot even think of it as a real hack
i was watching a video about uses for resealable zip top baggies and this was suggested:


place your recipe in a clear plastic bag on the counter so it doesn't get food spatter on it while you cook.
look, that's snazzy and all, but on the counter? why? my ingredients and mixing bowls are on the counter. there's no extra room on the counter. 


enter: our friend the binder clip


you know the metal wings come off, right?


why  hello, cabinet door pull!


squeeze and snap that sucker back on there, then flip it back up:


voila! eye level recipe protected from spatters.
and that's my great grandmother's spoonbread recipe. deeelicious! 

of course for a larger recipe, like a magazine page cut out or such, use a larger bag. you could probably even use this for a small cookbook, although i might throw a pencil or a wooden spoon handle in the top of the clip to rest along the top of the book and make sure it stays spread open to your page. 

Wednesday, February 26, 2014

Trashy Terrariums

it's time to start planting and to that end, i've been saving some trash and recycleables.
might as well start with reuse and move into recycle later

first, i saved a couple of cardboard trays from soda cans. it's a good place to start seedlings - easy to move, no mess on the counter, and sturdy enough to hold several pots or terrariums

and here you see the bottom of a gingerale bottle. clear bottles might work better, but this is what was available.


i cut the bottles in half, then on the bottom half i made 4 or 5 slits about an inch long down from the cut edge, evenly spaced


lettuce seeds from the asian market. no idea what kind they are. the only instruction in english is to soak the seeds in water in the fridge for 2 days. it's 62 degrees F in my house so i felt ok to skip this step. the terrarium doesn't have drain holes so the dirt will stay as moist as i tell it to while the seeds germinate


 when it's time to put the top on, just push the cut edges of the slits to overlap each other, reducing the circumference of the bottom half just a bit


push the top half of the bottle down over it as far as it will go

the overlapping edges don't matter a bit to the inner workings of the terrarium as the top should slide down well past them and you shouldn't have to cut as far down as where the soil and water come to

for the time being, i haven't put the bottle cap on, but make sure you save the cap as that is your humidity control


these fancy little containers are single serve pretzel & sabra hummus snack tubs. hat tip to my friend jon for this one - last year so many of his tomato seedlings succeeded in these that he had extra plants to give me. i've been saving the containers ever since
i'm experimenting with the seeds for the san marzanos. almost none of the tomatoes survived, between a late bloom, deer eating them, and an early freeze. i got one plant indoors while the tomatoes were green and most of the green ones went to my sister when the plant died. i found a few small tomatoes that ripened anyway, so i set them aside to dry. they may not be mature enough seeds, they may not make it for whatever reason. but i put one small tomato each in two hummus tubs with LOTS of water to soak and rehydrate. in the past i've gotten the best plants from putting whole, overripe tomatoes into dirt so i am guessing they might do better if they have the fruit to feed on as it rots into the soil.

make sure to write your variety on the top with a sharpie.
the cherokee purple seeds are a pinch of seeds leftover from a trip to monticello last year. i put half a dozen in each of 2 tubs and i figure if i get 3 seedlings out of the old seeds i'll be doing ok.

for the time being the seedling tray (cardboard box) is parked under my skylight. there's not a lot of sun this time of year but it's 35F outside tonight so i can't start seeds indoors.


update - the lettuce didn't grow. the tomatoes grew quite well, although most of the sprouts succumbed to a late and unexpected freeze. i recently found some sprouts that i didn't think would grow in one of the hummus containers in my carport, 3 months after i put a not quite ripe dehydrated tomato from last fall's frozen san marzano plant in there. fingers crossed!


first crop, these got frozen after i had transplanted and set them outside


freezer bag portion control

hat-tip to Lunchinabox.net - that blog appears to be fading away and may not be around to link to later, so here's my lazier version of her nifty trick

if you don't already know this one, here's the way i learned to freeze ground beef (sausage, any ground pork/chicken/turkey etc) in portions while only using one large plastic bag. never deal with trying to thaw and use several pounds of ground meat again.


1. place meat in bag. if you intend to season it, this is a great time to add the seasoning and squish it all around without getting your hands or a bowl dirty


Tuesday, July 16, 2013

bag.. err ... straw sealer

i saw a post that intrigued me, but i thought "i think i have the tools to make that better"
the original is an excellent tutorial, but uses pliers and a lighter

which is fine if what you have on hand is pliers and a lighter. not that i don't have pliers and a lighter on hand. i'm actually pretty sure i have pliers and a lighter in each room of my house. 
but i also have this 
 
that's a plastic bag sealer that operates on 2 AA batteries. 
also available here


i thought i'd test it with something easier to clean up, and less expensive than neosporin. since i also would use this for backpacking with food items, i tested it with salt.  which went into the straw with the cut corner of an envelope if you don't have a tiny funnel. i do have a tiny funnel but i don't use it for food (perfume) so i wasn't going to cross contaminate for this test. i recovered almost all the salt.

this is the heating element for the bag sealer. notice the narrow line across it - that's the actual heating element under the heat resistant cloth. the top just has the cloth, no extra heat. the top is actually just a small pad to keep the bag (or straw) in place.
 not all of the seams i tried worked. the first few leaked and it turned out i was moving the bag sealer too slowly. i was trying hard to melt the straw, when i didn't need to try at all. a quick swipe worked best, to prevent the straw from shrinking back away from the heating element.


by the end, i got a good seal and would try this with messier things than salt.

for most people, these would all be individual use items, like single doses of neosporin or calamine lotion. but you might have a desire to reseal them. while you are probably also carrying the lighter on a backpacking trip anyway, you might be less likely to carry this bag sealer. but it is very light, especially if you don't carry it with batteries in it. just borrow the batteries from another device for the two minutes it might take to reseal your tubes.

important note: i did also test this with compostable starch based "plastic" straws and got an EXCELLENT seal. if you can be sure your stuff won't be exposed to water regularly, these would be more environmentally friendly in the long run.   


Tuesday, June 11, 2013

Playing with PVC


 my new baggie storage tubes!


once upon a time i kept my food storage bags in a wire rack i had mangled for the purpose, cramming the boxes in any which way they'd fit and dealing with baggies sliding out and onto the kitchen counter on a regular basis.


as you can imagine, i could only fit 2 boxes in here, and that meant that gallon sized and snack sized bags lived in their boxes on the counter. in the way. all the time


one day it just hit me. POW! the baggies are inserted into their boxes at the factory in a roll. pipes are round. i bet i could make a bag holder out of pipes.
i measure the space and figured i had a little over a foot of space to work with.
4 sizes of bags, just over 12 inches of space... 3 inch pipe! 


i am a great procrastinator, so i actually bought the parts about a month ago and didn't do anything with them until last night.


parts:

qty1 PVC "Charlotte Pipe" 3 inch by 2 foot solid core pipe $5.24

qty 4 PVC Reducing Coupler- 3inch to 2 inch $3.18 each


so that's just under $20 after taxes. 
the remainder i had in my utility room/scrap pile. you might need to go buy screws or bum scrap wood off a friend or scavenge your local resources. you might even need to buy a cheap board and cut pieces off it as needed for future scrap wood. personally, i used the kick plate from a pressboard bookcase that fell apart years ago. i saved the shelves and bits and cut them up as needed.
 
scrap wood as long as the width of all the pipe pieces laid side by side, plus a couple of inches, and narrower than the shortest pipe section. you need to attach the pipes to it but still have room to put the caps on.


2 screws per pipe section that are long enough to go through the scrap wood and into the pipe, but not sticking out too far into the interior of the pipe. as you can see on the right, the screws i used just broke the interior surface of the pipe. try to keep your screws from sticking out far enough to catch and tear your baggies.


4 screws long enough to go through the scrap wood and into but not through the underside of the cabinet where you will be mounting your organizer. wood screws are best. i didn't have the right length of wood screws so i used machine screws. poor choice, but i'm not using them to hold anything heavy or fragile.

fortunately for me, all the screws i used for the whole project were all the same size. i do not know the size of them as they were just loose screws i had leftover from an assortment pack.


tools: 
masking tape
something to cut the PVC. i used a jigsaw
screwdriver
a very long screwdriver bit or an extender 
drill
I use hex shanked drill bits with my black and decker screwdriver, or a hex shanked chuck adapter to use round shanked drill bits 


measure how long your bags are and decide how much pipe to spare for each one. you might be able to buy a longer pipe or a few shorter ones - i went with the cheapest option. the sandwich and gallon sized cuts were about equal to each other, with the snack bags being a little shorter and the gallon sized bags being much longer. i measured the width of the bag as they will be loaded in sideways and pulled out by the side seam, not the zipper opening. also, the actual width of Ziploc snack, sandwich, quart and gallon bags laid side to side is longer than 2 feet - just decided it was ok for some to stick out the back of the pipes. if this bugs you, and you need all three sizes of baggies, get more than 2 feet of pipe.

i ran masking tape around the cut lines and marked where to cut on them - the masking tape is also there to reduce the burrs you create with the saw. it won't eliminate them but it will reduce the roughness of the cut edges. 
if you, like me, don't have suitable clamps, throw some gloves and eye protection on a friend or roommate and ask them to hold the other end of the pipe steady while you cut. 
i also braced the end i was cutting off against my kitchen cabinets to try to minimize the vibration, but in respect to kitchen cabinets, this is a terrible idea. mine weren't damaged but yours may be  
point the saw away from people and hands and things you mind getting damaged.

i used a jigsaw with a blade designed for pvc.  you can see my handy Skil saw in the picture above. everyone should have one.
i cut into the pipe and then my roommate and i rotated the pipe against the blade to complete the cut. it's not perfectly smooth or even but that's ok because that part won't show.

sand or scrape the worst of the burring away.


line up your pipes, with the caps on to get the proper distance, and line up the scrap wood to mark along the center lines of the pipes where they will be attached to the wood. 


i like to drill with the scrap wood braced on my trash can to the sawdust falls in the trash


the tall pipe on the end? i didn't attach it in that position. i moved it "down" to make the opening closer to lining up with the openings of the shorter pipes.

notice there's a little more space between the two end pipes and the center pipes. that's where i decided to attach the wood to the cabinet and i needed space to fit the drill and screwdriver.


 you will either need a long screwdriver (manual) or a long bit or bit extender to reach in the space between the pipes.


 drill pilot holes in the scrap wood first. i didn't have extra hands at this point as my roommate had gone to bed, so i put the screws in the scrap wood, held it up to the cabinet and turned the screws enough to get them to mark the wood. then i took the organizer down and drilled pilot holes in the marked spots.

then i installed it and put the bags in. then i took it down, moved it forward two inches because i didn't measure properly and the gallon sized bags stuck too far out the front and the cap wouldn't go on. 


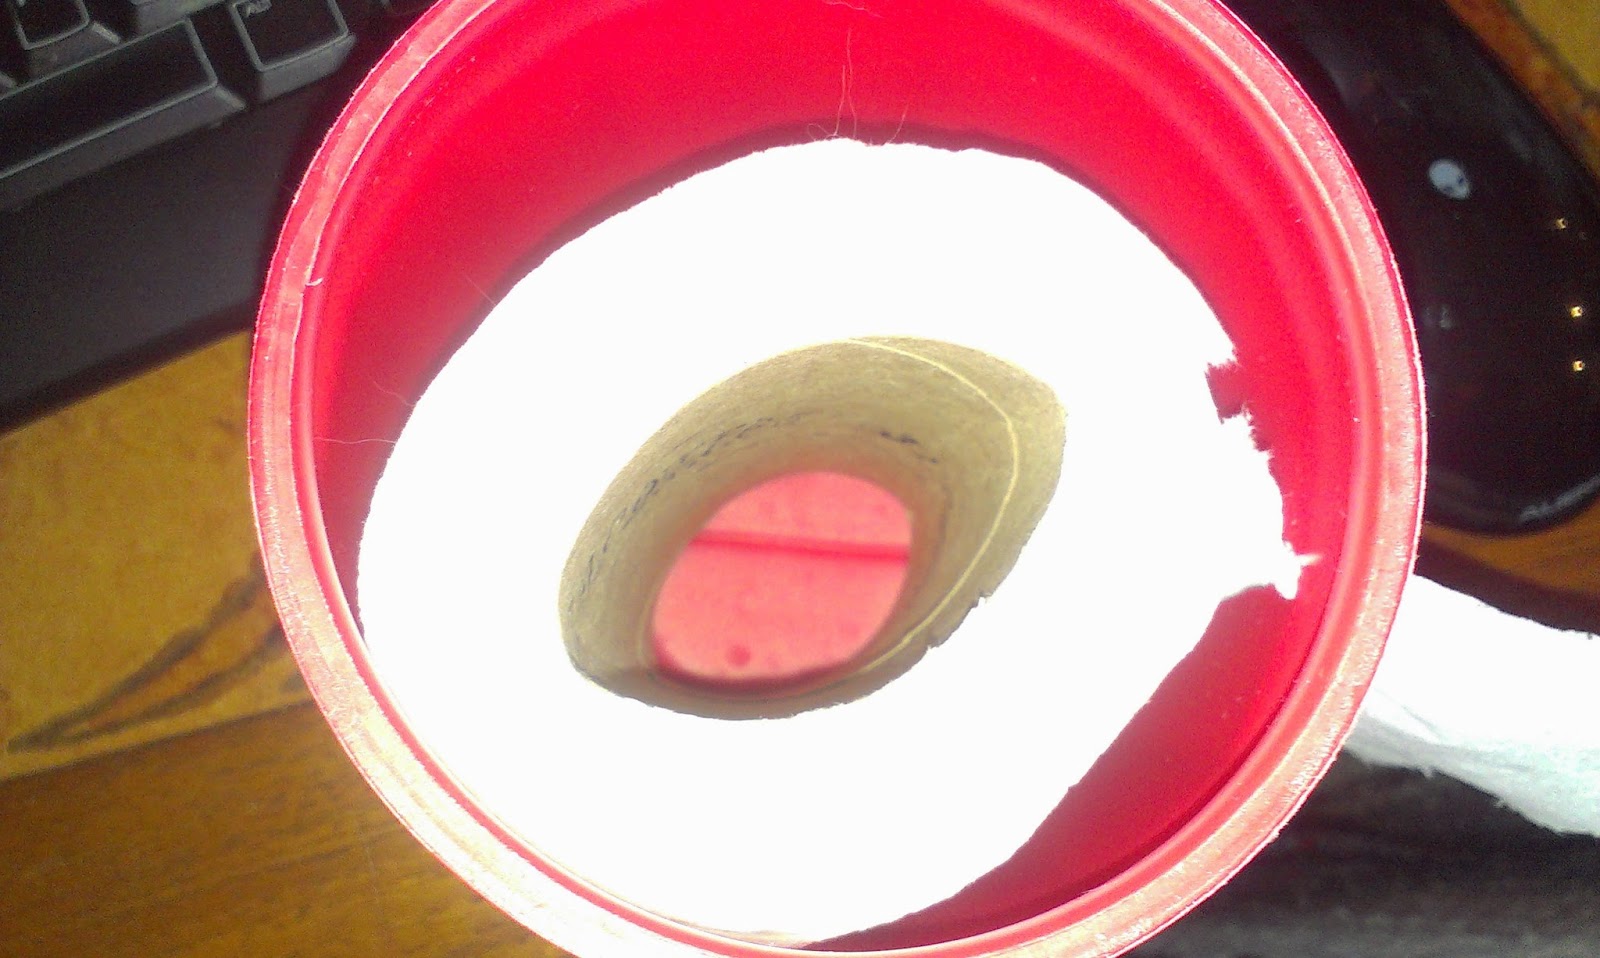
then i cut a couple of cardboard discs and masking taped them to the back of the sandwich and snack bag pipes because with it moved forward, the little bags were falling out the back.   

if you want to get fancy and put caps on the back ends:


THEN i loaded up the bags, stuck the caps on, discovered that the quart sized tube was in just slightly the wrong place to make it easy to put the cap on but it worked ok with a little shove. you may want to measure more carefully for your installation to ensure room to remove and replace the caps. i don't care enough to move it again since the cap will come off it a few times of year at most.


yeah, this is much better!